When working in laboratories, manufacturing plants, food processing facilities, or research environments, a vacuum pump is an essential piece of equipment. Correct installation is the foundation of efficient performance, longer lifespan, and reliable operation. Improper setup, on the other hand, can lead to leaks, reduced pumping efficiency, frequent breakdowns, or even complete system failure.
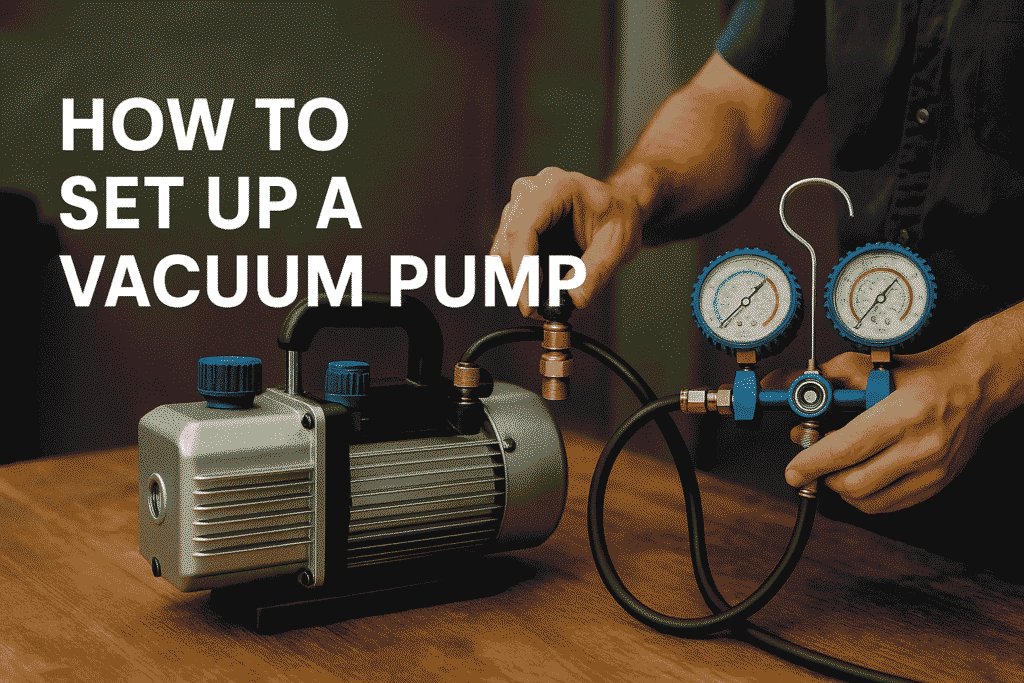
In this detailed guide, we explain how to set up a vacuum pump step by step, highlight best practices, and provide safety and maintenance tips to ensure you get the best results from your vacuum system. This content is tailored for engineers, plant operators, and researchers who want to optimize their operations while preventing costly mistakes.
Why Proper Setup of a Vacuum Pump Matters
Before diving into the installation process, it’s important to understand why setup is critical:
- Performance optimization – Proper alignment and connections allow the pump to achieve the required vacuum level quickly and efficiently.
- Extended pump life – Reduces wear and tear, minimizing mechanical stress on bearings and seals.
- Leak prevention – Correct sealing ensures there are no air leaks that can compromise vacuum pressure.
- Safety – Protects users from accidental oil backflow, overheating, or contamination.
- Compliance – Many industries require proper vacuum installation for meeting ISO, GMP, and FDA standards.
Step 1: Choose the Right Location
The first step in setting up a vacuum pump is finding the ideal placement.
- Flat, stable surface – Ensure the pump is on a vibration-free, level surface to prevent noise and mechanical strain.
- Ventilation – Place the pump in a well-ventilated area to prevent overheating. Oil-sealed pumps generate heat and need airflow for cooling.
- Accessibility – Leave enough clearance around the pump for maintenance, oil refills, and filter replacements.
- Contamination control – Keep the pump away from dust, corrosive chemicals, and direct sunlight.
Pro tip: Always check the manufacturer’s installation manual for specific clearance recommendations.
Step 2: Inspect Before Installation
Before powering the pump:
- Check for shipping damage – Inspect housing, inlet/outlet ports, and electrical wiring.
- Verify accessories – Ensure you have all required fittings, hoses, filters, and lubricants.
- Oil check – For rotary vane pumps, confirm oil levels and quality before startup.
- Seal integrity – Look for any loose bolts or damaged O-rings.
Step 3: Install the Inlet and Exhaust Connections
Inlet Line Setup
- Use short, wide hoses to minimize conductance losses.
- Ensure hoses and fittings are vacuum-rated (not standard plastic tubing).
- Avoid sharp bends or kinks that can restrict airflow.
- Install a foreline trap or filter to protect the pump from particles, vapors, or liquids.
Exhaust Line Setup
- Connect the exhaust line to a ventilation system or outdoors to prevent oil mist or vapors from contaminating the workspace.
- If using in a cleanroom or lab, install an oil mist filter for added protection.
Step 4: Electrical Setup
Proper electrical connection is critical for safe operation.
- Voltage check – Match the pump’s motor requirements with your facility’s power supply (single-phase or three-phase).
- Grounding – Always connect the pump to a grounded outlet to prevent electrical hazards.
- Circuit protection – Use fuses or circuit breakers rated for the pump’s current draw.
- Startup controls – If part of an automated system, ensure it’s integrated with PLC or relay controls.
Step 5: Fill and Check the Oil (For Oil-Sealed Pumps)
Most vacuum pumps require special vacuum pump oil for lubrication and sealing.
- Use only manufacturer-recommended oil.
- Fill oil to the indicated level on the sight glass.
- Do not overfill – excess oil can backstream into the vacuum line.
- Replace shipping oil with fresh oil before first use if required.
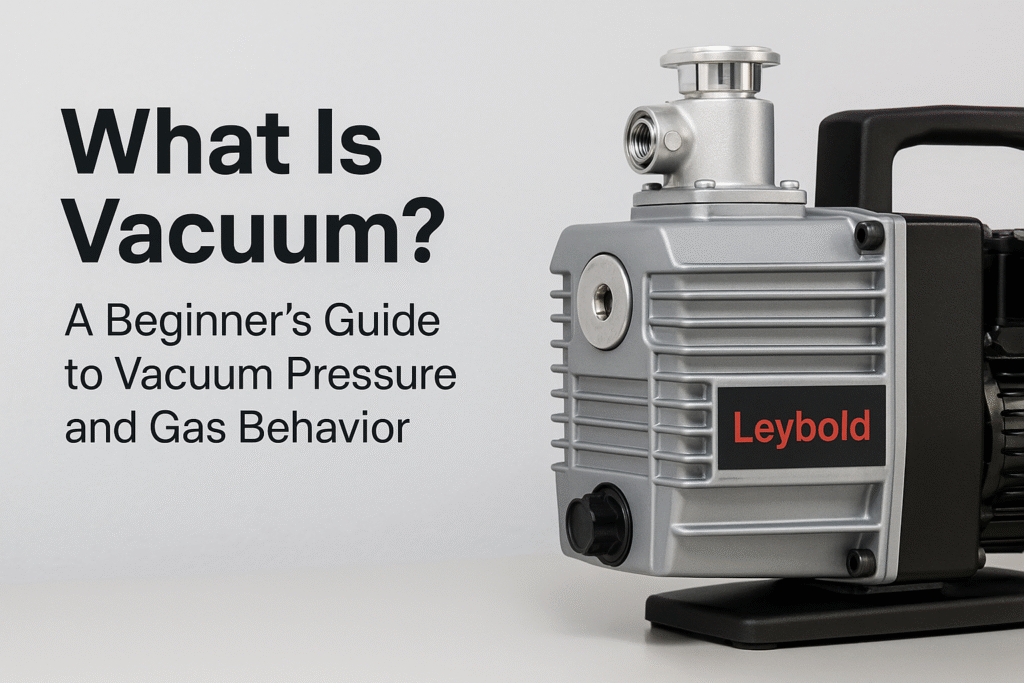
For dry vacuum pumps (like Leybold VARODRY or DRYVAC), this step is not needed, but it’s still important to inspect seals and bearings.
Step 6: Leak Testing
Leaks can completely compromise a vacuum system. After installation:
- Perform a pressure rise test – Seal the system and check how fast pressure increases.
- Use a helium leak detector for precise identification of micro-leaks.
- Inspect all O-rings, flanges, and hose connections with soapy water for bubbles (basic method).
Step 7: Initial Startup Procedure
- Ensure all valves are in correct positions.
- Power on the pump and allow it to run under no-load conditions for a few minutes.
- Monitor the oil level and color (oil-sealed pumps).
- Check for unusual vibrations or noises.
- Slowly introduce the system load to avoid sudden pressure changes.
Step 8: Monitoring and Safety Checks
Once the pump is operational:
- Temperature monitoring – Ensure the pump does not overheat.
- Noise level – Abnormal sounds may indicate misalignment or bearing issues.
- Oil backstreaming prevention – Use filters or traps.
- Emergency shutdown – Ensure users know how to safely shut down the pump in case of a malfunction.
Routine Maintenance After Setup
Setting up a vacuum pump is just the beginning. To ensure long-term reliability:
- Change oil regularly – Oil-sealed pumps require oil changes every 500–2000 hours depending on use.
- Replace filters – Exhaust and inlet filters should be inspected monthly.
- Inspect seals and gaskets – Prevent leaks by replacing worn O-rings.
- Clean foreline traps – Especially when pumping condensable vapors.
- Schedule professional servicing – For major overhauls and bearing replacements.
Common Mistakes to Avoid
When learning how to set up a vacuum pump, avoid these pitfalls:
- Using the wrong oil – This can cause pump seizure.
- Skipping exhaust filtration – Leads to oil mist contamination in workspaces.
- Improper voltage connection – Damages the motor and voids warranty.
- Underrated hoses – Standard hoses collapse under vacuum.
- Ignoring leaks – Even small leaks significantly reduce efficiency.
Applications Where Setup Precision Is Critical
- Pharmaceutical manufacturing – Contamination-free operation.
- Food processing & packaging – Maintaining hygiene standards.
- Semiconductor fabrication – Ultra-high vacuum for clean processes.
- Research laboratories – Precise and stable vacuum levels.
- Medical applications – Sterile environments depend on reliable pumps.
LeyboldExim: Your Partner for Vacuum Technology
At LeyboldExim.com, we provide not only high-performance vacuum pumps but also technical guidance, installation expertise, and after-sales service. Whether you need an oil-sealed rotary vane pump, a dry screw vacuum pump, or customized vacuum solutions, we ensure your setup is smooth, efficient, and compliant with industry standards.
Our engineers can assist with:
- On-site pump installation
- Leak detection services
- Customized piping solutions
- Scheduled maintenance contracts
Final Thoughts
Learning how to set up a vacuum pump is essential for ensuring maximum performance, reliability, and safety. From selecting the right location and making proper inlet/exhaust connections to performing leak checks and routine maintenance, every step contributes to the success of your operation.
By following this guide and partnering with LeyboldExim.com, you can ensure your vacuum system operates at peak efficiency while minimizing downtime and maintenance costs.


